One of my fave caking thing to do is mould gumpaste figurines!
I still haven’t tried using sculpting chocolate yet (it’s more pricey), but I’ve heard great things about it, so far gumpaste work well for me :). I’m sticking with gumpaste.
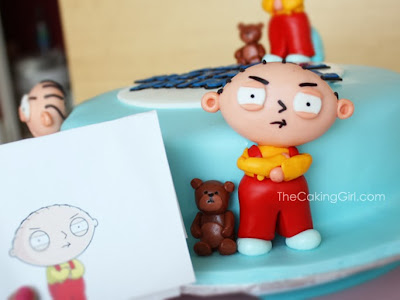
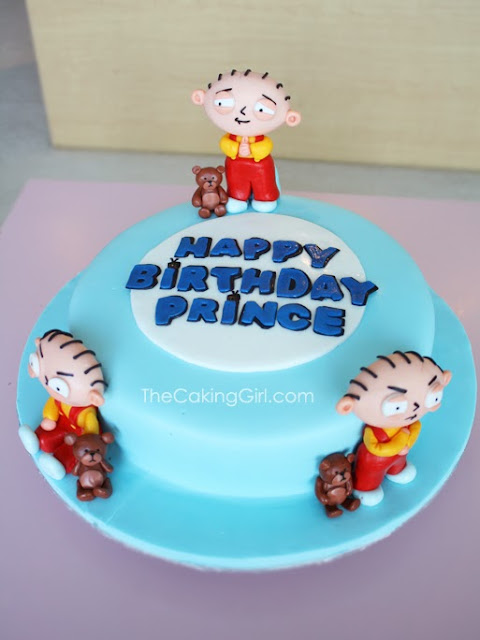
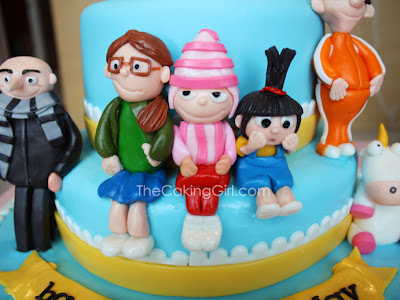
One thing that bugs me most about custom cakes, is when the figurine doesn’t look like the real thing. If it doesn’t look right, I rip the parts off and remake it over, and over again until I get the ratios and scales right 🙂 I am quite obsessed with getting my figurines spot on.
Sometimes even without having to remake any parts, one figurine can take up to an hour to make or longer.
Here are some of my tips on making gumpaste figurines:
1. Don’t rush it. Make it a few days before your cake is due, if you’re rushing the figurine, it won’t look good! I used to save the figurine making for last, and it would stress me out as that’s all I’m thinking about when I’m making the rest of the cake. Never again. I always make my figurines first, and on a day I have a few hours to dedicate myself to it.
2. Get a good reference. Go online, go on google or other search engines, and find a good picture to use as reference. Print it onto paper and have it with you when you work. It’s best to get a front view and a profile view of the figurine. If it’s a 2D cartoon character, and you have trouble envisioning it as 3D, try to google the keyword with “doll” after it. That way, you can find pictures of it in a 3D doll form, that helps a lot! Sometimes I borrow my daughter’s toys, when I make Mickey Mouse gumpaste figurines.. or Winnie the Pooh gumpaste figurines.. Dora, Cat in the Hat, etc.
3. Detail is everything. Get an exacto knife, you’ll need it to make the small details. Notice all the small details, even if it’s a very thin black line over the top eyelid of the character, include it. It makes a difference in the result. I also bought sculpting tools, clay tools and plastercine tools from fine art stores as well.
4. Give it time to dry. Sometimes the figurine will have to take a break. If it needs to dry over night, let it. Structure is everything!
5. Accuracy. Try your best to examine the proportions and scales. I use my fingers or the blade of my exacto knife to measure parts of the figurine. You can also compare parts of the figurine to itself. For example, width of eye = half of the nose width, distance between eye and nose = same distance as eye to eyebrow.
6. Don’t forget colors. Even if you get all your proportions/scales of the parts right, if the color is slightly off, it affects the entire outcome. Don’t be afraid to mix the food colors a bit. For example, I never use Wilton’s Rose Pink color on it’s own, I always add a bit of Wilton’s Burgundy, even if it’s a tiny micro amount. It ‘normalizes’ the rose pink for me, with it on it’s own, the hue is too strong.


