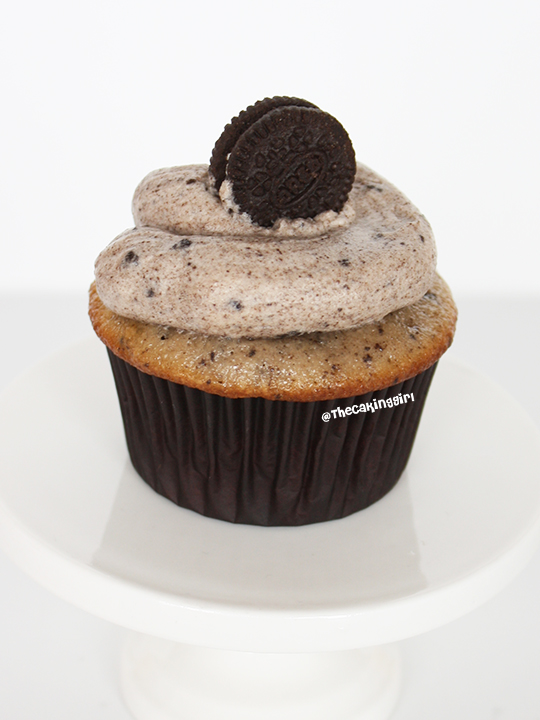
Oreo Cupcake Recipe with Oreo Frosting Recipe
Ingredients
- 75g butter
- 245g sugar
- 2 eggs
- 205g plain flour
- 1 tbsp baking powder
- 1 pinch salt
- 205ml milk
- 75g crushed Oreo cookie
Method
2. Cream the butter in a large bowl until soft. Add sugar and whisk until combined and coming away from side of bowl.
3. In a jug whisk your eggs and slowly add it to butter and sugar mix, incorporating fully before adding more.
4. Sieve flour, salt and baking powder together. Add crushed Oreos into batter.
5. Add half of dry ingredients into the batter and whisk. Add half of the milk and whisk. Alternate this one more time to combine all ingredients together. Scrape the side of the bowls to ensure everything is mixed.
5. Fill your 12-cupcake cases ¾ of the way and bake in the oven for 20-25 minutes until cooked.
- 110g cream cheese, cold
- 56g butter, cold
- 1 cup icing sugar
- 5 crushed oreos (You can use a food processor for this.
Or place it in a ziploc bag and crush it by pushing down
something heavy over it.)
Method
The Lego Movie Cupcakes (in the making)
More Despicable Me Cakes!
Hello 🙂
If anyone had noticed, I am no longer TheCakingGirl.com :(… I lost the domain and been trying to gain it back, I made an offer, hopefully they (whoever the new owner is) will be understanding and give the name back to me. I’m still TheCakingGirl. But it’s no longer dot com. it’s dot ca.
Why did I call myself TheCakingGirl anyways.. well, about 4 years ago, when I first started making cakes, I was pretty bad at it but I wanted to get better, and I really enjoyed it, so I made as many cakes as I can for free for people, so I can practice. My friends were calling/texting me asking why I can’t go out, what am I so busy doing. I got tired of typing that I’m busy making a cake, learning how to decorate etc, I simply replied, “I’m caking,”. I made cake into a verb lol. Cause that’s what I was doing, I was Caking.
So I called myself The Caking Girl.
I see that term being used in other cake forums now 🙂 yes, it’s a verb, it’s a hobby, it’s a career, it’s a life.
I’m also aware that Caking has another urban dictionary meaning. Haha. 😉
Anyways, now that I sorta sorted out the domain name situation, I want to blog more. I hope you enjoy my blogs, altho I don’t write as much, and it’s mainly visuals. I plan to write more.
Take care, talk soon!
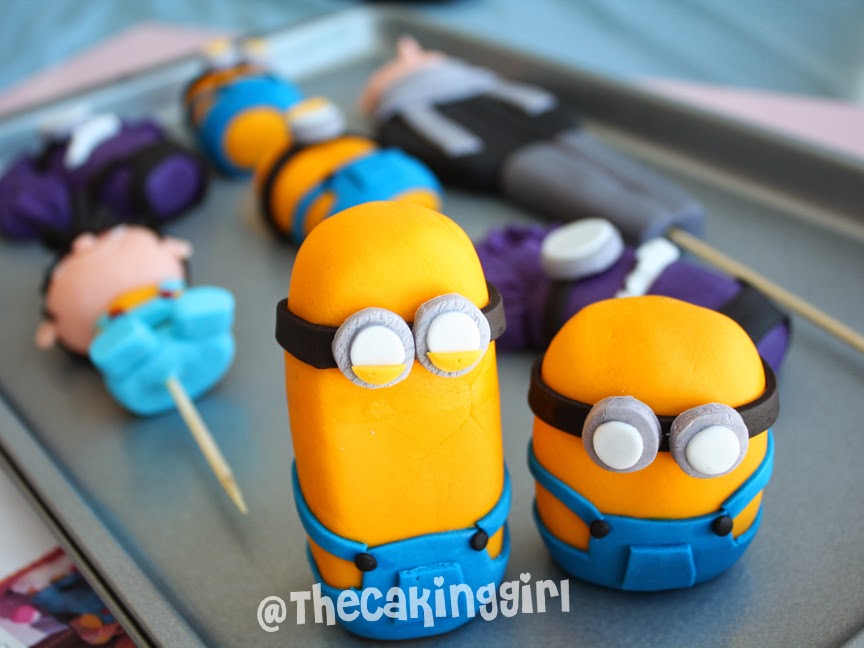
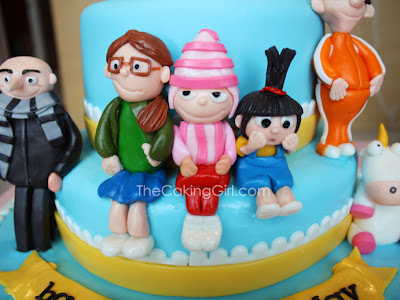
Making another despicable me cake…
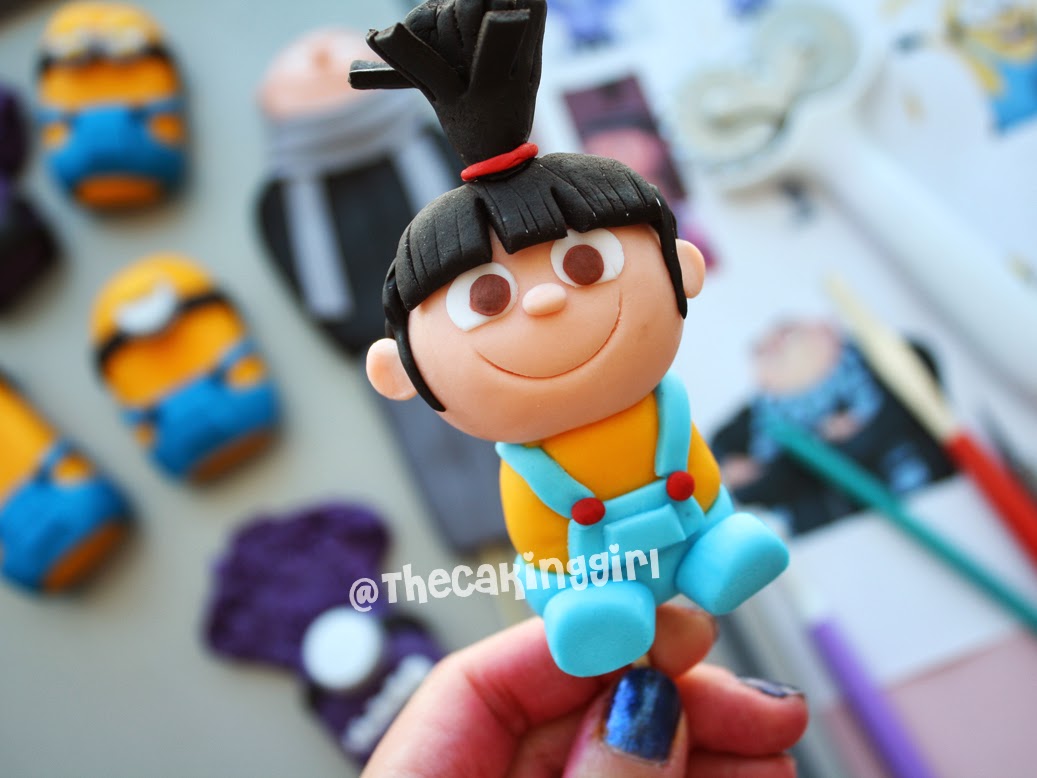
My edible gumpaste figurines lying out to dry.
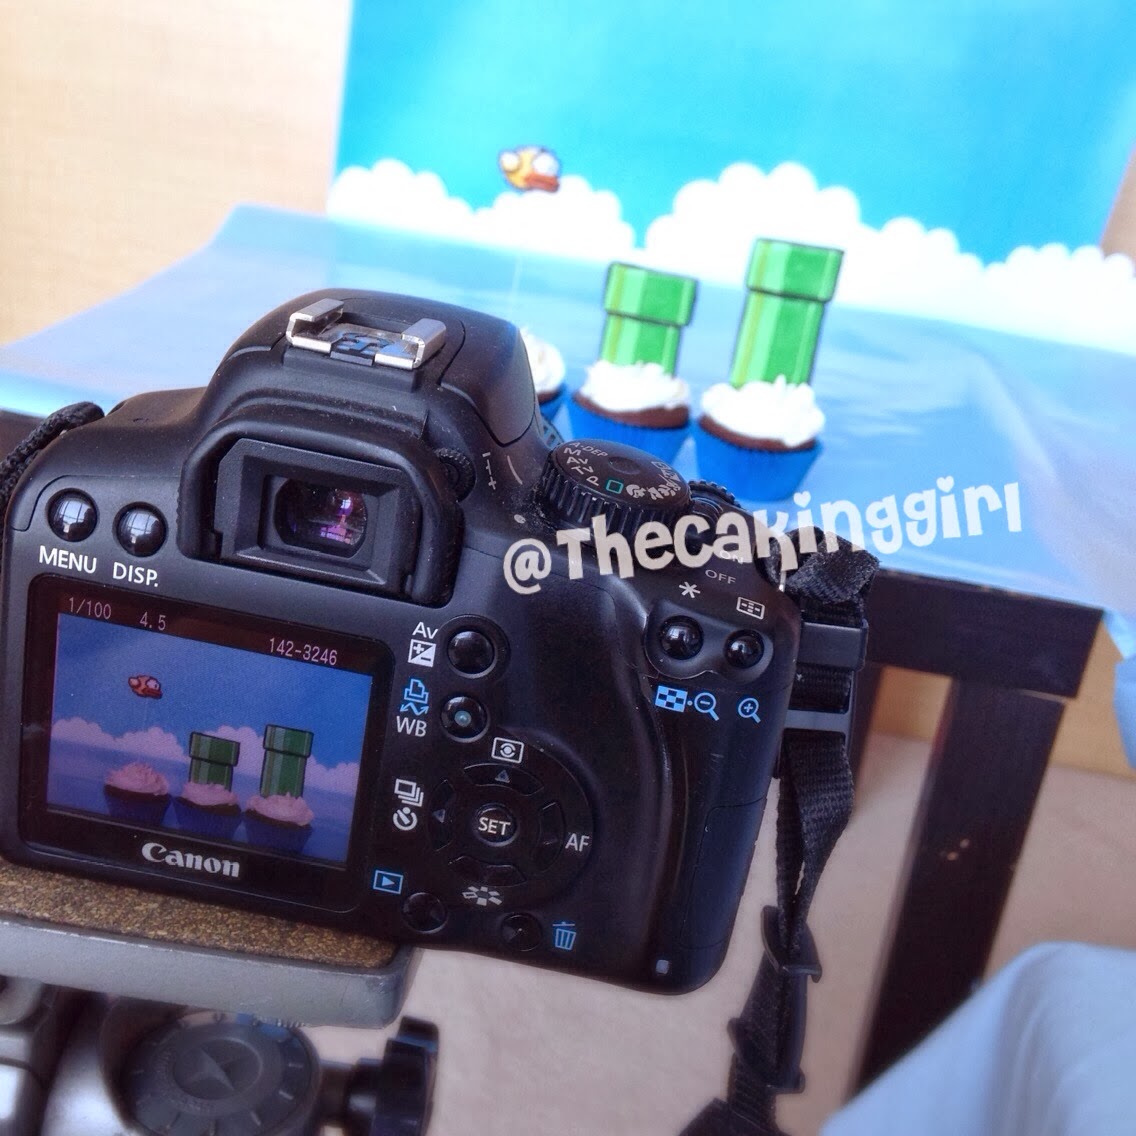
FLAPPY BIRD CUPCAKES!
This picture has a bit of everything I love to do, baking, making art,
photography, iphone apps, and being creative!
Kung Fu Panda Cake!
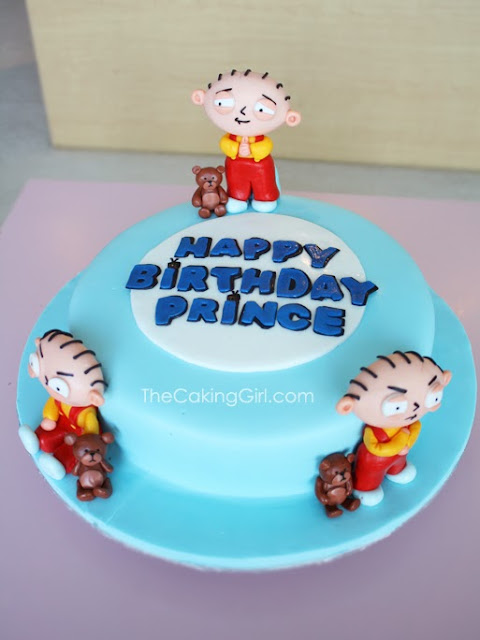
How to make Gumpaste Figurines
One of my fave caking thing to do is mould gumpaste figurines!
I still haven’t tried using sculpting chocolate yet (it’s more pricey), but I’ve heard great things about it, so far gumpaste work well for me :). I’m sticking with gumpaste.
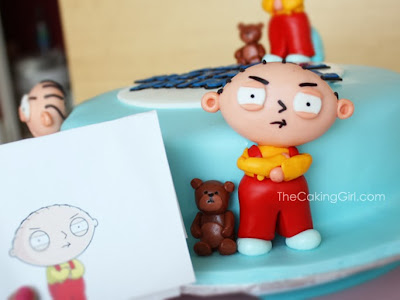
One thing that bugs me most about custom cakes, is when the figurine doesn’t look like the real thing. If it doesn’t look right, I rip the parts off and remake it over, and over again until I get the ratios and scales right 🙂 I am quite obsessed with getting my figurines spot on.
Sometimes even without having to remake any parts, one figurine can take up to an hour to make or longer.
Here are some of my tips on making gumpaste figurines:
1. Don’t rush it. Make it a few days before your cake is due, if you’re rushing the figurine, it won’t look good! I used to save the figurine making for last, and it would stress me out as that’s all I’m thinking about when I’m making the rest of the cake. Never again. I always make my figurines first, and on a day I have a few hours to dedicate myself to it.
2. Get a good reference. Go online, go on google or other search engines, and find a good picture to use as reference. Print it onto paper and have it with you when you work. It’s best to get a front view and a profile view of the figurine. If it’s a 2D cartoon character, and you have trouble envisioning it as 3D, try to google the keyword with “doll” after it. That way, you can find pictures of it in a 3D doll form, that helps a lot! Sometimes I borrow my daughter’s toys, when I make Mickey Mouse gumpaste figurines.. or Winnie the Pooh gumpaste figurines.. Dora, Cat in the Hat, etc.
3. Detail is everything. Get an exacto knife, you’ll need it to make the small details. Notice all the small details, even if it’s a very thin black line over the top eyelid of the character, include it. It makes a difference in the result. I also bought sculpting tools, clay tools and plastercine tools from fine art stores as well.
4. Give it time to dry. Sometimes the figurine will have to take a break. If it needs to dry over night, let it. Structure is everything!
5. Accuracy. Try your best to examine the proportions and scales. I use my fingers or the blade of my exacto knife to measure parts of the figurine. You can also compare parts of the figurine to itself. For example, width of eye = half of the nose width, distance between eye and nose = same distance as eye to eyebrow.
6. Don’t forget colors. Even if you get all your proportions/scales of the parts right, if the color is slightly off, it affects the entire outcome. Don’t be afraid to mix the food colors a bit. For example, I never use Wilton’s Rose Pink color on it’s own, I always add a bit of Wilton’s Burgundy, even if it’s a tiny micro amount. It ‘normalizes’ the rose pink for me, with it on it’s own, the hue is too strong.
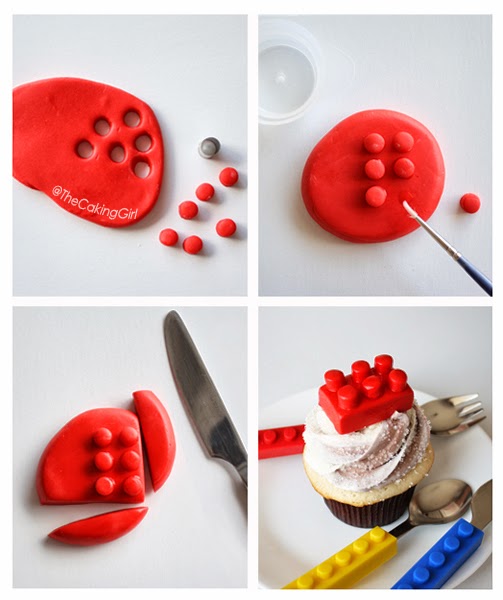
Fondant decorating: How to make a LEGO CUPCAKE!
What you’ll need:
– clump of fondant
– rolling pin
– any edible color dye
– small circle cutter
– water
– paintbrush and toothpick (optional)
– a knife
Steps:
1. Use a toothpick and dab a bit of your edible color dye onto the fondant. Knead the fondant until the color is all mixed. You might need to add the color several times to get a nice intense color like the lego blocks.
2. Roll out the fondant about 3/4 of an inch thick.
3. Use the circle cutter and cut out 6 fondant circles.
4. Roll the fondant together and roll it out to 3/4 inch think again.
5. ‘Glue’ the circle fondant onto the rolled out fondant by dabbing a bit of water. The water acts as a glue between the fondant. I like using a small paintbrush to apply water, you can use your finger, or toothpick etc.
6. With the knife, cut a rectangular shape around the circles.
7. Let it dry for a few hours, and you can place them onto cupcakes! You can make variations by using different colors and different lego pieces (2 circles, 4 circles).
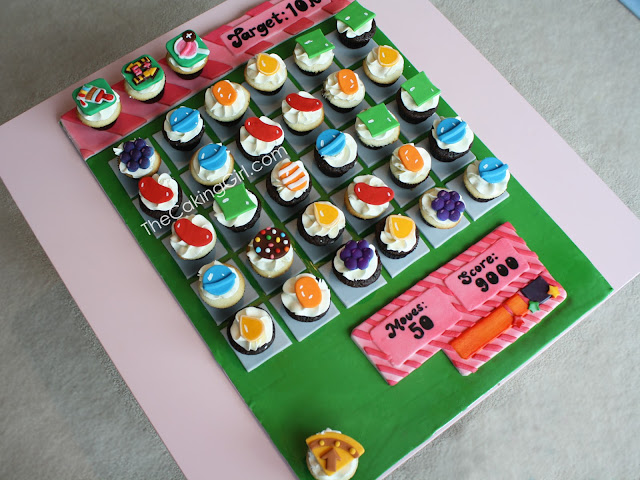
CANDY CRUSH CUPCAKES! Time Lapse Cake Video!
Candy Crush Cupcakes! 🙂
She was really shy when they sang Happy Birthday haha!
Handing out the Candy Crush Cupcakes 🙂
Happy Birthday my love!!!
My First Tumblr Set: Calvin and Hobbes Cake!
My first attempt at making a Tumblr set! What do you guys think? My limited cropping/measuring skills on Photoshop lol.
Anyone remember Calvin and Hobbes? They’re a popular 90s comic strip!
I made this Calvin and Hobbes cake last week, she wanted something “whimsical” so I went on google to look for some Calvin and Hobbes inspiration.. I saw this image of them crossing the river and thought it was perfect!
This cake was quite challenging as I couldn’t find any 3D Calvin and Hobbes toys or dolls anywhere online to use as reference.. so I tried my best to imagine what they would look like if they were 3D. I had to mold them to a scale/proportion where they wouldn’t look too weird at a different angle. I had trouble with the tiger.. I had to remake his head a couple of times.
I started the background of the cake with white fondant and then painting onto the fondant after letting the fondant dry a bit. Calvin and Hobbes are made from colored gumpast.
The person who had requested this cake was super happy with it!
